Power Automate filtering of SharePoint Online Listen - ODATA Filter Query
When automatically processing SharePoint lists using Power Automate, it is usually necessary to filter the list entries based on column & row values. Filters are also the fundament for an optimal workflow runtime.
Define the filter queries
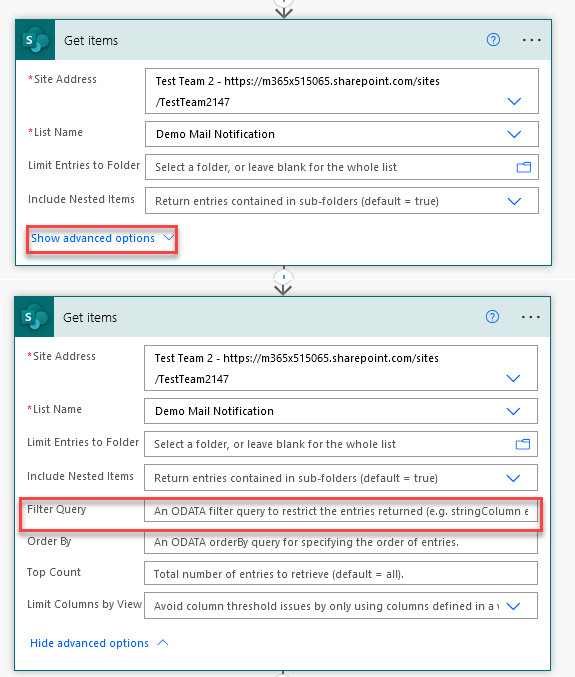
To set a filter query, we open Power Automate and create a new action SharePoint “Get items”. In this action “Get items” we can show under “Show Advanced Options” all further options for reading the list items, as well as the option “Filter query”.
Within this filter query we can now filter and limit our list items based on values from our sharepoint list or using expressions.
Filtering list item values
To filter on list item values, we need in the first step the column name and the corresponding value to filter on. As in our example, the column name is “Product” and the value is “Cloud”. This means we only want to output list items with these values for further processing in the Power Automate workflow.
Filter Query Product = Cloud
(Product eq 'Cloud')
 Filter Query 1
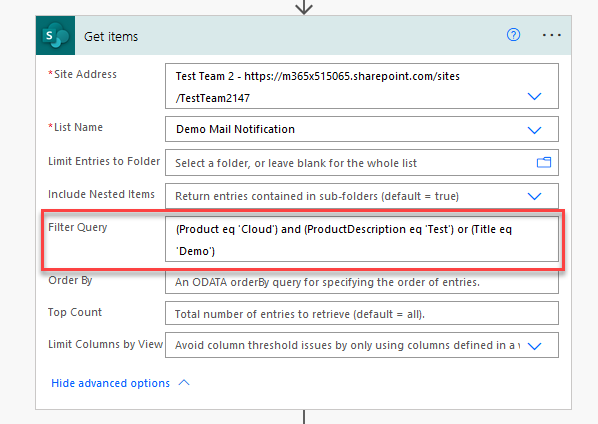
For example, if you want to filter for multiple values, you can easily combine them using “and” or “or”.
(Product eq 'Cloud') and (ProductDescription eq 'Test') or (Title eq 'Demo')
 Filter Query 2
There are of course a lot of other possibilities to filter for specific values, for example with “startswith”, “endswith” or “lengh”. , “endswith” or “lengh” To give just a few examples.
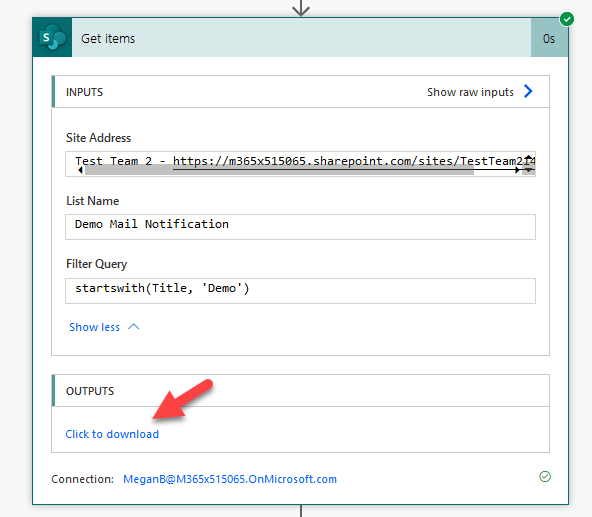
startswith(Title, 'Demo')
startswith(Title, 'Demo')
If the filter does not work in your case, it is usually because the wrong column name is entered in the query. This can be caused by the column being renamed or containing spaces or special characters. In this case, it is a good idea to run the flow once without the query and to take a closer look at the action output in order to copy the correct column name into the flow.
 Filter Query 3
Filter by date
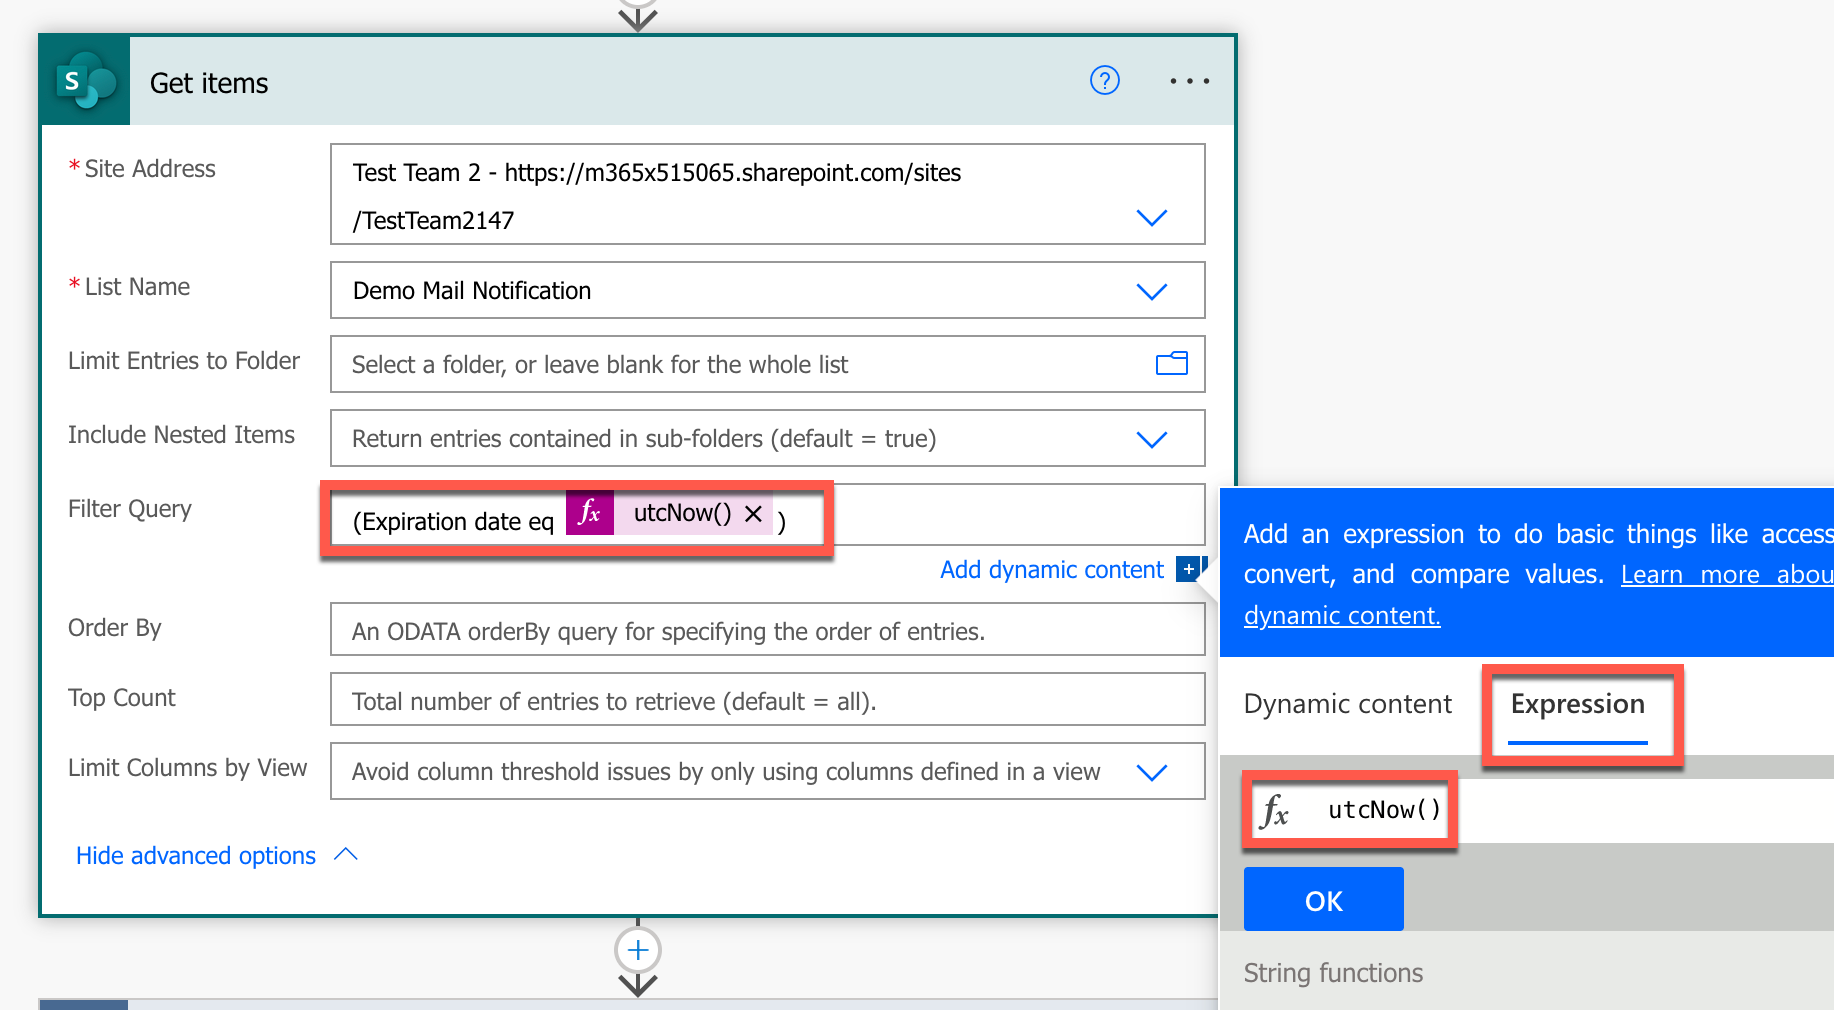
You can use date fields in the query field, too, but you might want to use the current date to match the SharePoint entry.
For this purpose there is a predefined expression “utcNow()” in Power Automate which returns the current date information. This can be easily integrated into queries.
 Filter Query 4
In some cases, the comparison of dates is not sufficient because, for example, the list element is to be processed in the workflow before the date has expired.
 Filter Query 5
Let’s assume the scenario that 10 days before the “Expiration Date” is reached, the SharePoint list entry should no longer be filtered and an email notification should be sent to a specific person in the workflow.
We can implement this requirement using expression as follows. First we define our selected column “Expirationdate” next we select the desired operator. Which in this case is the range operator “lt”.
Equality operators:
eq: Test whether a field is equal to a constant valuene: Test whether a field is not equal to a constant value
Range operators:
gt: Test whether a field is greater than a constant valuelt: Test whether a field is less than a constant valuege: Test whether a field is greater than or equal to a constant valuele: Test whether a field is less than or equal to a constant value
In the next step, we format utcNow() and extend it with our 10 days so that list items are no longer filtered 10 days before the Expiration Date is reached. Furthermore we set the formatting to “yyyy-MM-dd”.
(Expirationdate lt '@{formatDateTime(addDays(utcNow(),+10),'yyyy-MM-dd')}')
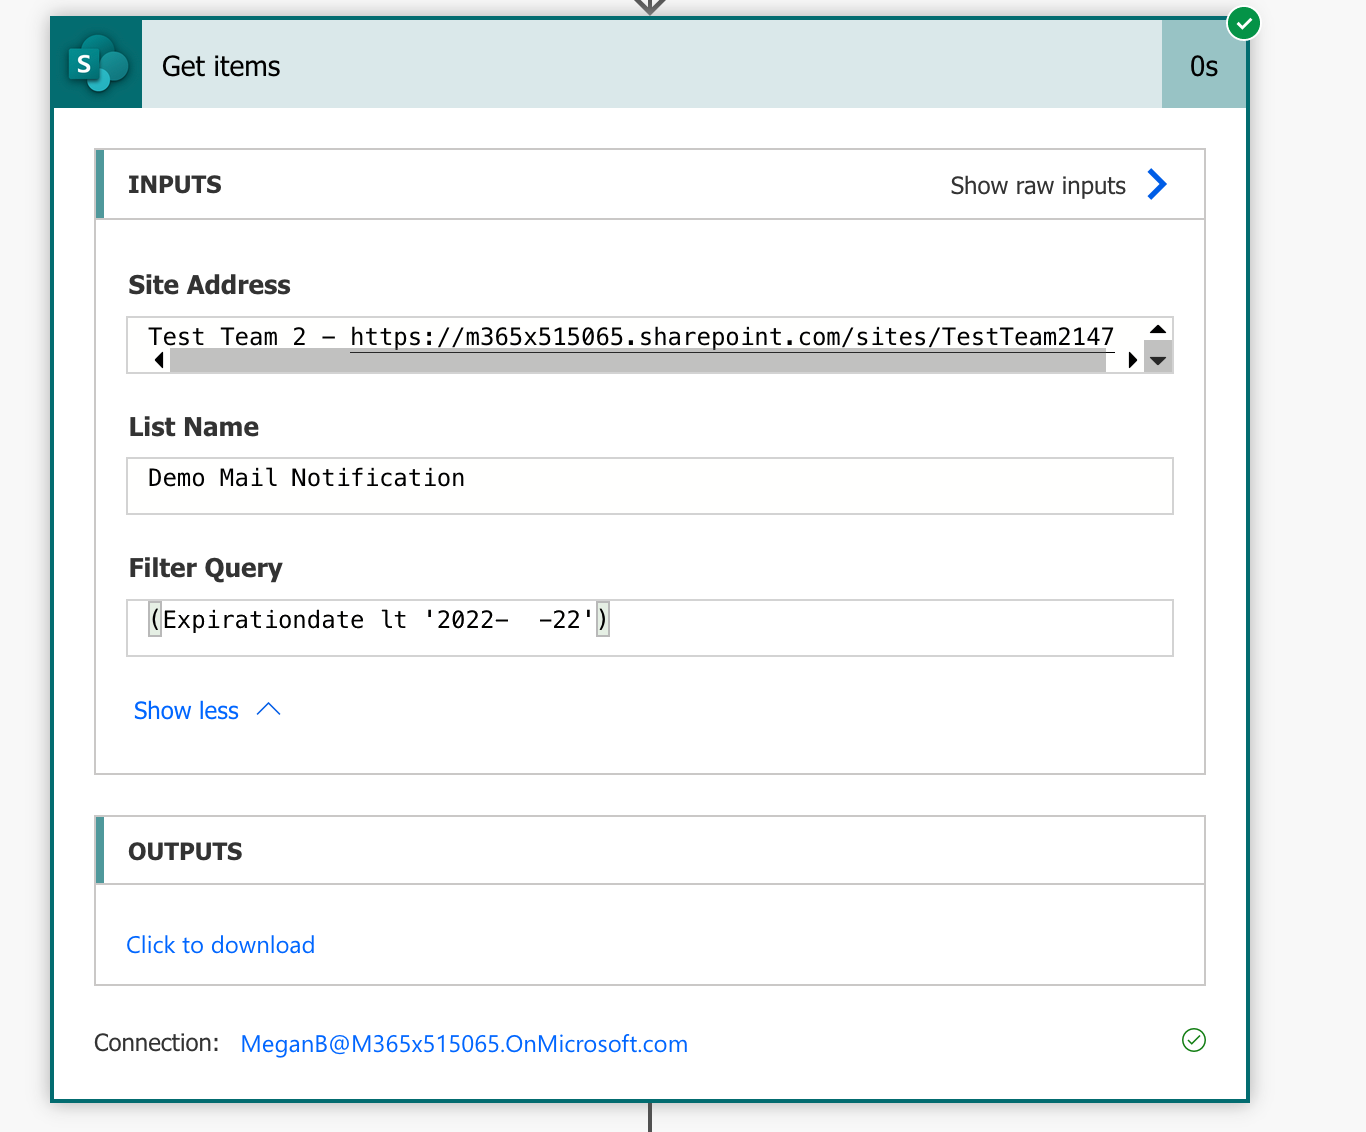 Filter Query 6
If we take a look at the flow history after successful execution, we can see that utcNow has become a calculated field and 10 days have been added to today’s date.